安装步骤
1.phpstudy_pro安装xdebug
你需要下载适用于PHP版本、64/32位、线程安全性(TS/NTS)和Visual Studio编译器版本的预编译DLL,
并将其放在您的PHP扩展文件夹中。
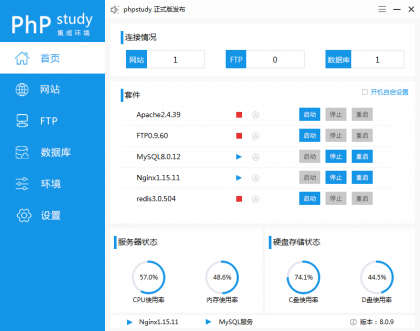
由于我安装的是phpstudy_pro,
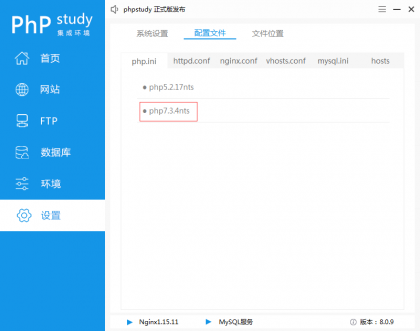
php版本是7.3.4 nts 我下在的版本为:php_xdebug-2.8.0beta2-7.3-vc15-nts-x86_64.dll,
我将下载下来的dll文件改名为php_xdebug.dll,
放在E:\phpStudy\Extensions\php\php7.3.4nts\ext 下
打开指定php版本的php.ini
在 php.ini 中配置xdebug,如下:
[xdebug]
zend_extension=xdebug
在php.ini中启用远程调试:
xdebug.remote_enable = 1
xdebug.remote_autostart = 1
phpstudy_pro nginx启动的端口已经设置为80端口
所以php.ini里xdebug设置添加端口
xdebug.remote_port=80
验证xdebug安装是否OK
在phpstudy_pro默认网站根目录下E:\phpStudy\WWW
新建index.php
<?php
echo phpinfo();
查看xdebug安装情况
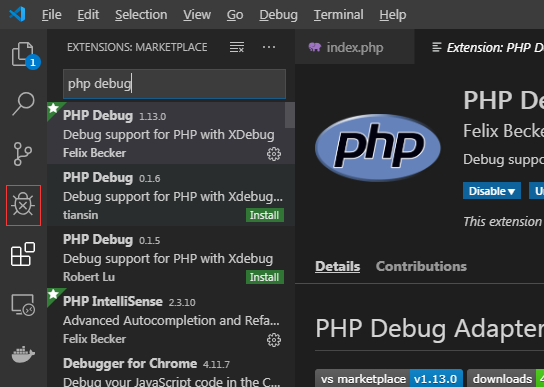
2.vscode 安装插件:搜索 php-debug 并安装
下面是vscode中 php debug插件官方教程,我的是windows系统,其他系统请自行阅读。
Installation
Install the extension: Press F1, type ext install php-debug.
This extension is a debug adapter between VS Code and XDebug by Derick Rethan. XDebug is a PHP extension (a .so file on Linux and a .dll on Windows) that needs to be installed on your server.
-
Install XDebug I highly recommend you make a simple test.php file, put a phpinfo(); statement in there, then copy the output and paste it into the XDebug installation wizard. It will analyze it and give you tailored installation instructions for your environment. In short:
-
On Windows: Download the appropiate precompiled DLL for your PHP version, architecture (64/32 Bit), thread safety (TS/NTS) and Visual Studio compiler version and place it in your PHP extension folder.
-
On Linux: Either download the source code as a tarball or clone it with git, then compile it.
-
Configure PHP to use XDebug by adding zend_extension=path/to/xdebug to your php.ini. The path of your php.ini is shown in your phpinfo() output under "Loaded Configuration File".
-
Enable remote debugging in your php.ini:
[XDebug]
xdebug.remote_enable = 1
xdebug.remote_autostart = 1
There are other ways to tell XDebug to connect to a remote debugger than remote_autostart, like cookies, query parameters or browser extensions. I recommend remote_autostart because it "just works". There are also a variety of other options, like the port (by default 9000), please see the XDebug documentation on remote debugging for more information.
-
If you are doing web development, don't forget to restart your webserver to reload the settings.
-
Verify your installation by checking your phpinfo() output for an XDebug section.
PHP debug安装好后就要设置php的路径
File(文件)->Preferences(首选项) 搜索 php
编辑settings.json 追加你的php安装位置
"php.validate.executablePath": "E:\\phpStudy\\Extensions\\php\\php7.3.4nts\\php.exe",
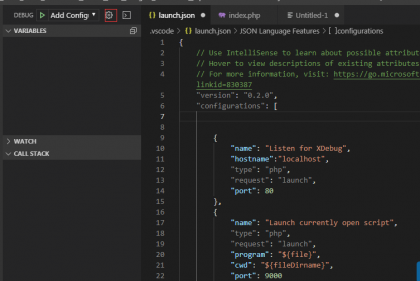
安装完成之后,点击bug图标,配置与xdebug相同的80端口。
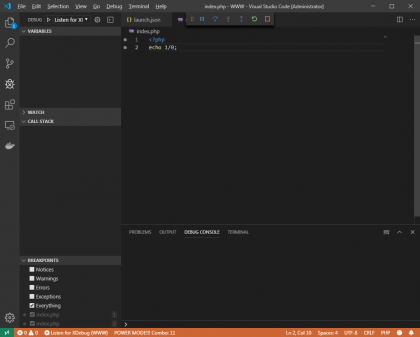
修改index.php
<?php
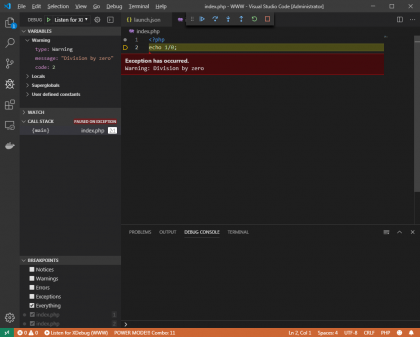
echo 1/0;
按f5就会出现listen for xdebug
在代码行位置,点击加上断点
访问localhost
版权声明:《 vscode+phpstudy_pro构建php调试环境 》为zhangkang原创文章,转载请注明出处!
最后编辑:2019-8-27 19:08:33

